

Right?! I know.
So some of you totally get it - and some are like "yea, a cut off cami...big deal." Yes, it IS a big deal. And this is why....
For those of you who don't know me personally, I have boobs. Big boobs. 34 DD boobs - and I didn't have to contribute to the GDP to get them - just good ole genetics from my grandmothers. When I was pregnant with Evelyn they were up to my chin - you think I'm kidding but I, for once, am not exaggerating.
Because of the boobs, a lot of V necks shirts and dresses that most other people can wear normally, I have to wear a cami under so that I'm not inappropriately dressed. There's nothing worse than having that extra cami fabric under your (example) dress roll up around your middle and look all bunchy and make you uncomfortable.
I had been looking for something like the above and came across a bra from Soma (my fav undergarments place) that had a panel of fabric across the cups that serves the same purpose. I hated to drop $45 on a bra that I couldn't wear everyday though. And then a few doors down in a little boutique I found this. I figure I'd give it a try for $12 and I love it. It's seamless and has elastic around the bottom so it doesn't ride up and eliminates the bunchy fabric that rides up problem completely. It's made of the same material as my camis I wear under stuff from The Limited (which are horrible roller-uppers).

Comfortable elastic band around the bottom
So I could buy more of them here. But you know me - instead I'm converting my old camis into this same concept bra top!
Step One: Cut the old cami's excess fabric off using the new Ah-mahzing bra top as a guide. I left an extra inch on the cami's so I can fold it up and place the elastic inside.

Step Two: Sew in elastic. Start by sewing it directly onto the side of the cami. Make sure to start sewing the elastic about 1/8th-1/4th from the edge of the fabric. (I used Dritz' 3/4th Inch Non-Roll Knit elastic bought at Joann.)


After that, fold up the elastic encased in fabric and pin it on the outside of the elastic band. The idea is to encase the elastic completely and make a tube. You don't want to sew directly on the elastic or it won't stretch.
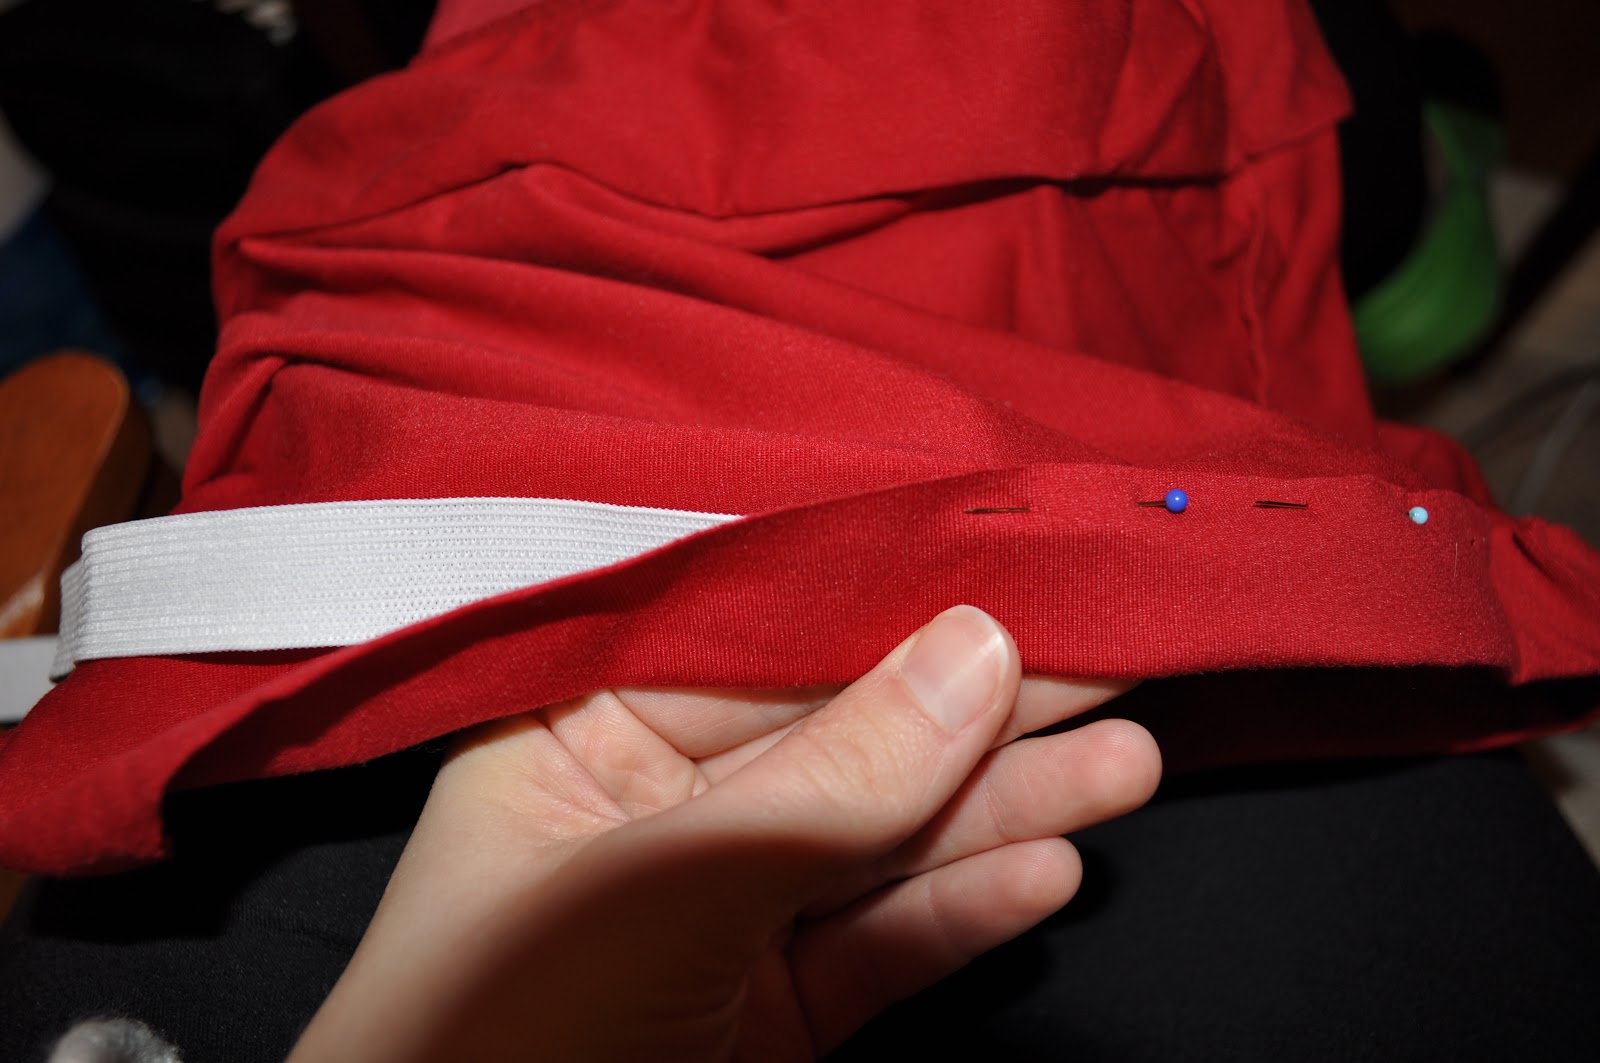
Leave about an inch unsewn at the end, and sew the "tube" all the way around. When you finish - Put it on and pull the excess elastic to a comfortable "tautness" and pin it so it won't move as you take it off. Then you trim the elastic, reposition and pin the elastic in the fabric, sew the rest of the tube, make a 90 degree turn and sew the elastic to the fabric. Here is your finished product!

That took about 15 minutes and saved me $12. Worth it!
0 comments:
Post a Comment