

This is a DIY that made me raise my arms to the heavens and say "WHY?! Why didn't my mother teach me how to make pillow covers this way!??"
Making pillow covers with a zipper is about 100 times easier than having to sew those suckers up by hand, which also saves at least 30 minutes. The things I could do with an extra 30 mins: vacuum, paint my toenails, catch some Team USA Water Polo - the possibilities are endless.
I've got a lot of things I'd like to accomplish before picking up Evelyn from school today so I'll get right to it. (Once she's home - all eyes must stay on her or she begins a silent protest of mass destruction). All in all - my entire worktime was 30 minutes.
Materials You Need for the Project:
A fabric of your choice - you can do the math on how much
A zipper (I used invisible)
Thread
Sewing Machine
JoAnn had this great 50% off coupon that the check out girls let me keep so I used it over and over again. Two of those purchases were 20 inch pillow forms. I ordered this fabric from Fabric.com (Waverly Cross Section in Bluebonnet).

Here is my math: The fabric is 54 inches wide. I need pillows that - on the finished product - are 20 square inches wide on both sides. So 40 inches squared. Plus 1 inch on each square to account for the seams. So 42 inches squared. I'm making 2 pillows, and a yard is 36 inches. So I rounded up and ordered a yard and a half. I even Instagrammed a photo of my drawing :).

First thing I did was cut my fabric into 4 equal sized squares. Each piece was 21 inches square. After I cut all 4, I laid them on top of one another and trimmed them down to all match perfectly. Now, it's sewing time!
This is what our invisible zipper looks like:

This part we are looking at now, is the part we will see on the outside of the pillow when we are done - aka "the pretty side".
So, lay your fabric pretty side up, and we are going to lay the zipper on top of the fabric ugly side up.

Line up the sides together and pin the length of the zipper.


Now we sew. I put a zipper foot on my machine, but you don't have to use that. The zipper foot gives you the ability to get right up as close as possible to the zipper part so less of it will show on the outside (pretty side) when you are done.
Drop your foot. Get as close as possible, and sew. Tip: You will have to unzip and zip the the zipper to get the entire thing sewn in because of the zipper pull. I dropped my foot right after the pull, then after I had finished sewing the length of the zipper I went back, unzipped it and sewed those first few inches.
Drop that foot right up next to the zipper

I started sewing after the zipper pull - then went back after, unzipped, and sewed the first few inches

An in progress photo

This is how the pretty side should look when you are done sewing

An inside look

Alright! Now that we finished that side we need to do the other side. Zip the zipper back together, and begin pinning the 2 fabric squares to each other. I started with one corner and pinned a few inches in on each side from the corner. This will insure the zipper will be lined up perfectly when we pin it and sew it in.
Now pin the zipper to the other side of the fabric. Remember pretty side of fabric up, ugly side of zipper up.

And sew it just like we did the other - make sure the other side of the fabric is out of the way.


Moving on! Now, I want to finish up the zipper side before I move on to the easy-peasy sides. What we need to do is pin the remainder of the side to where the end of the zipper is on the inside of the pillow cover.


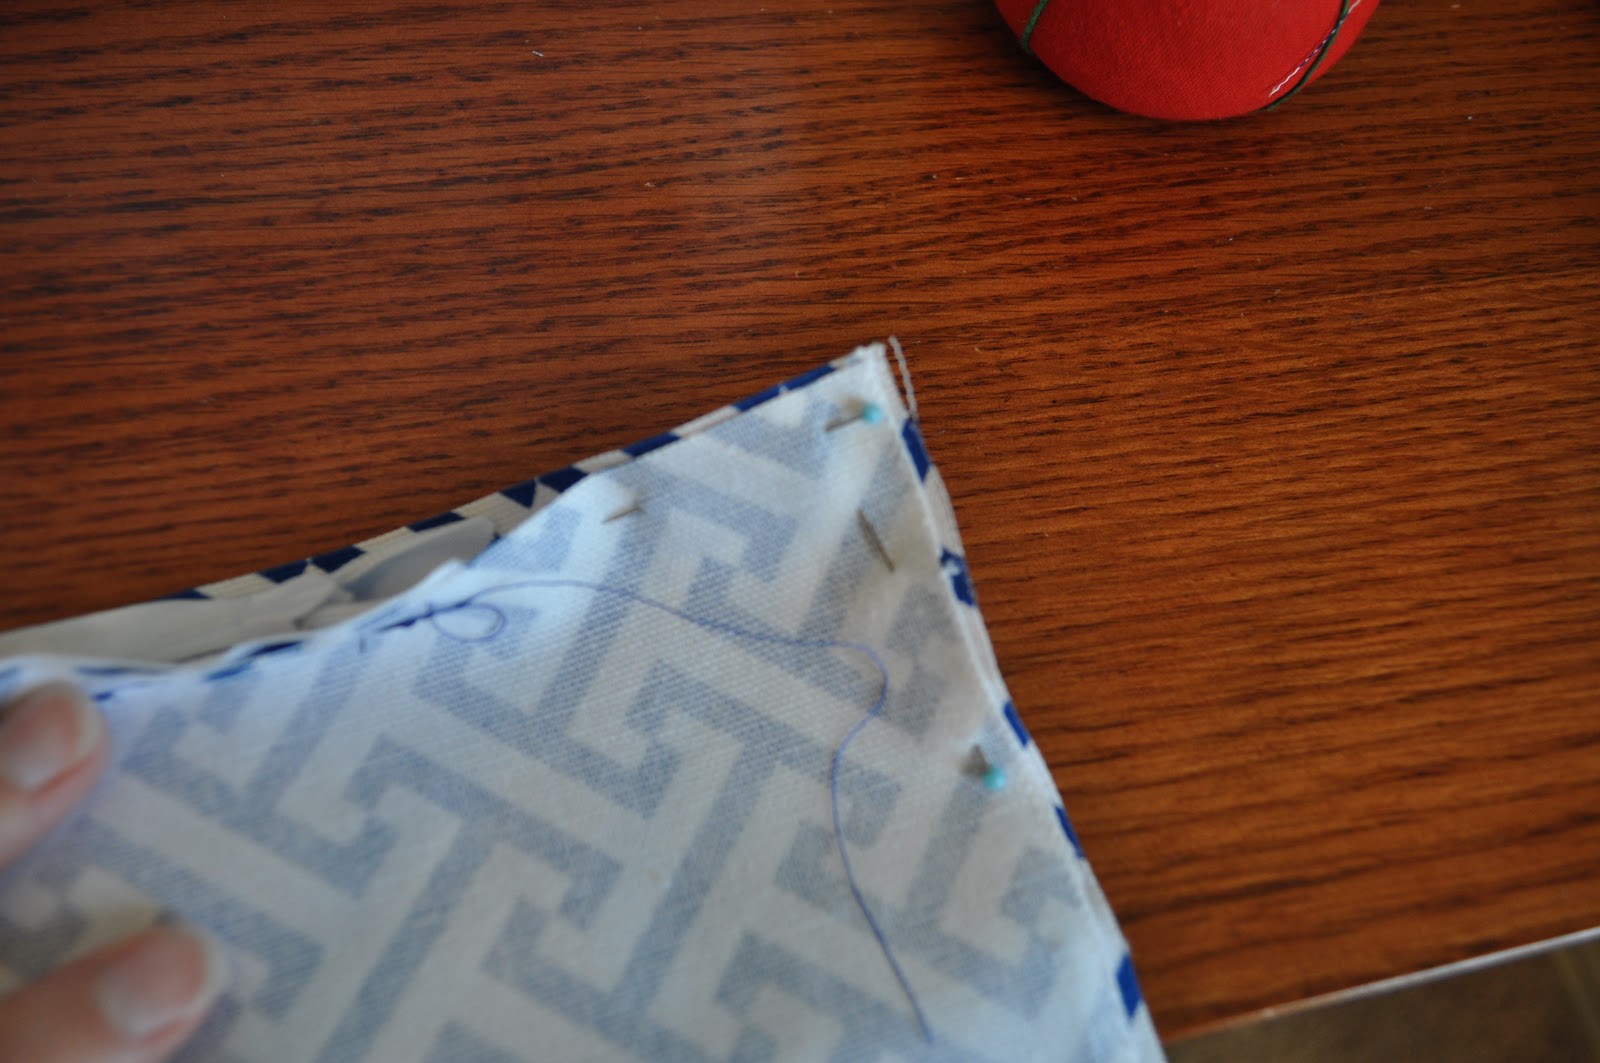
Here's what it looked like after I finished sewing:


I took my seam all the way to the edges of the fabric. You'll end up with a little box in each corner. Take your scissors and clip a little triangle off each corner. This will help give your pillow a nice, pointy corner.


When you get back around to the zipper head area, just do the steps we did for the other end to finish it off. Then, Voila! A fabulous homemade pillow cover that costs WAY less than Pottery Barn or shopping off Etsy!

Before.....

After! Sure made Evie happy!
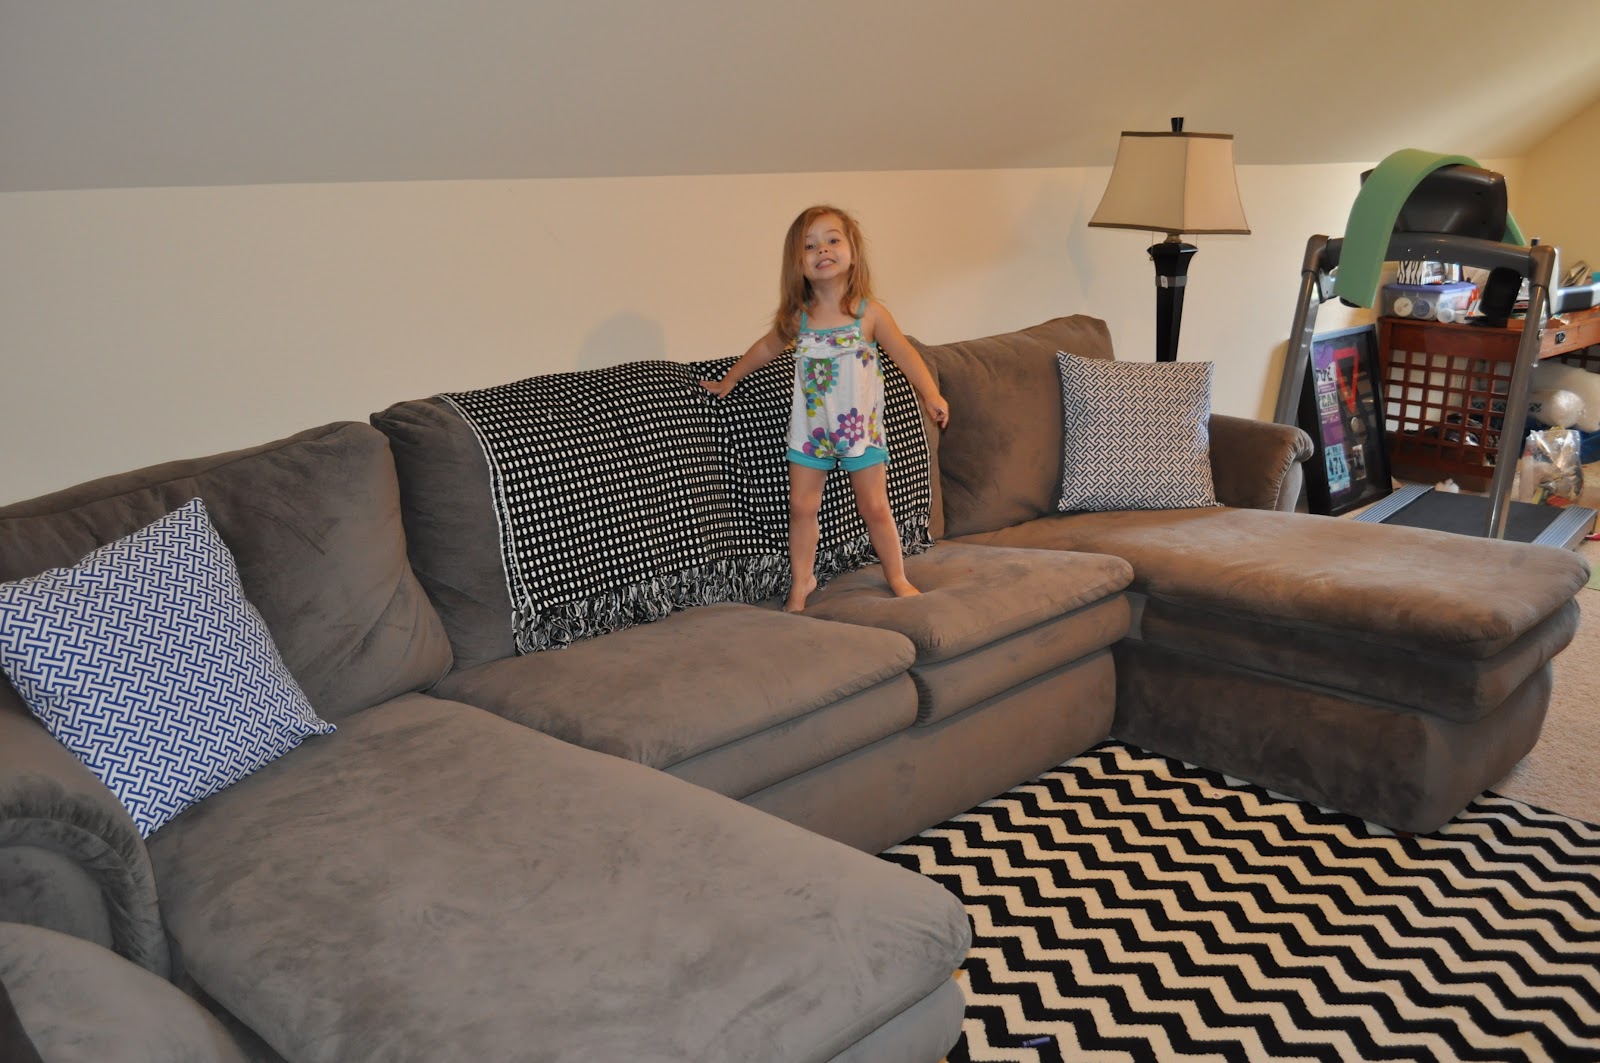
Since we are keeping the walls Rich Cream, that area was desperately needing a pop of color.


0 comments:
Post a Comment